Best Finger Placement for Typing (Complete Beginner Guide)
If your fingers keep slipping on the keys and mistakes just keep happening, chances are they’re not sitting where they should be. Sometimes just changing how you place them can fix a lot more than you expect. That small delay between thinking something and actually typing it… yeah, that often comes from your hands being slightly off. Try noticing where your fingers actually land. Most of the time, quick fixes don’t really solve anything if the base isn’t right. What feels “normal” to you right now might actually be slowing you down. Also, speed isn’t really the main issue, even though people focus on it a lot. Everyone wants to type faster, but they ignore the one thing that actually makes it possible. Where your hands rest before you even start typing… that matters more than it seems. Fingers naturally settle somewhere first, and that position affects everything after. Even small differences in how each finger touches the keys can change your flow. And honestly, it’s not exactly the same for everyone. Some people keep their hands more spread out, others stay a bit more compact. Everyone kind of finds their own way — somewhere between being comfortable and being fast.
Truth sits quiet. Fingers out of place mean speed hits a wall, every time. It does not matter even if hours slip by while practicing, progress might still feel out of reach. When pace feels slow, try looking at what we wrote about moving faster detailed walkthrough about Discover ways to type faster.
Once you get how your fingers should sit, things start feeling smoother. With practice, hitting keys takes less effort to glide through tasks with less work, yet quicker results show up naturally. Speed improves while mistakes fade, all without pushing harder. Effort stays flat but outcomes sharpen in surprising ways.
In this guide, I’ll try to explain finger placement in a simple way… nothing complicated. So you can actually start improving right away instead of just reading about it.
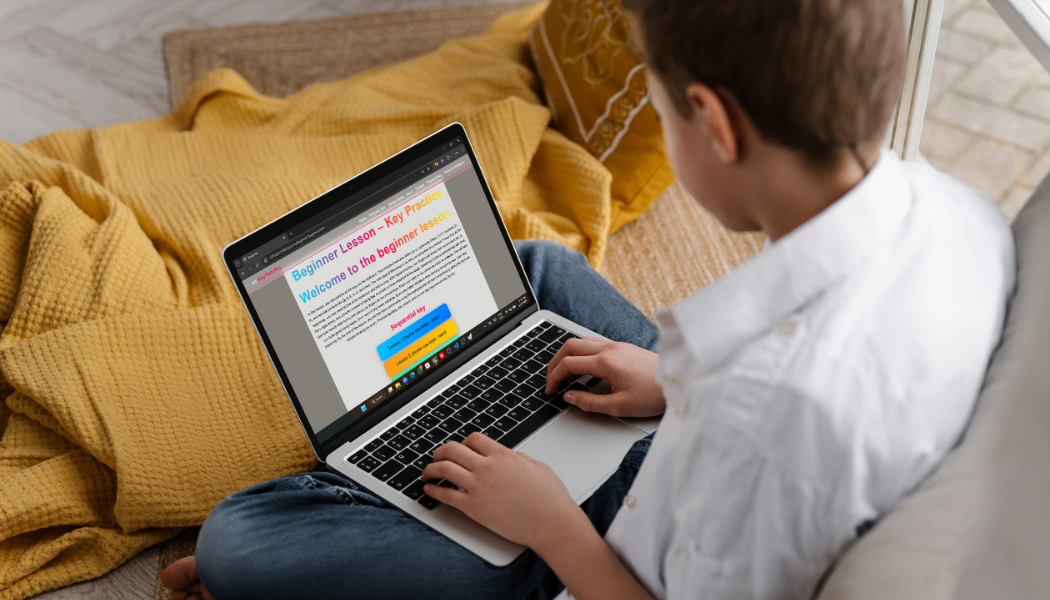
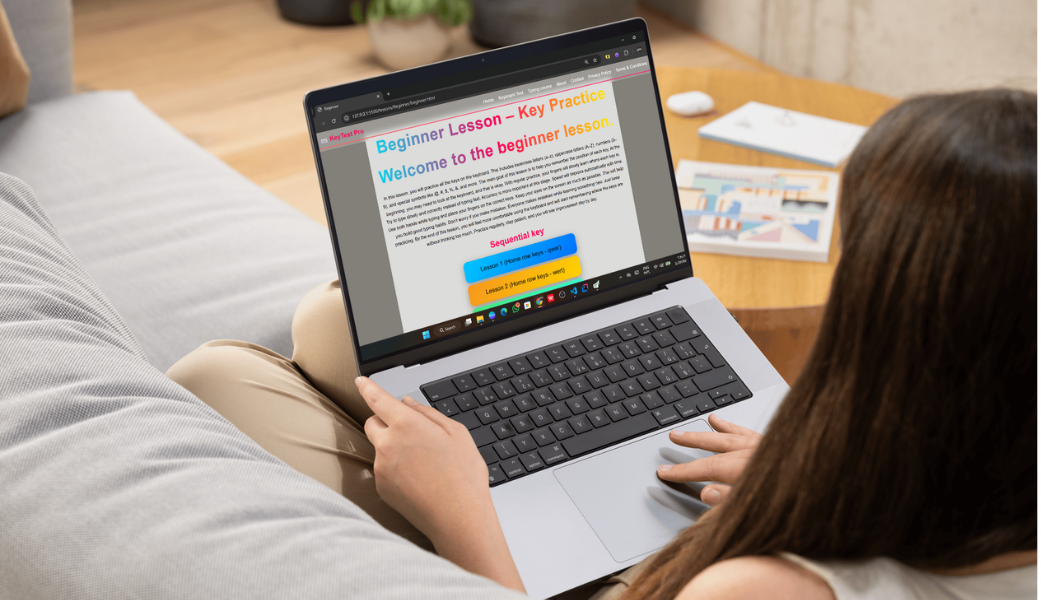
You can practice along while going through this — maybe use the typing speed test tool, or follow the lessons in the typing course if you want something more step-by-step and yeah, there’s also the typing blog section if you feel like exploring more tips later on..
1. What is Finger Placement in Typing?
The fingers are positioned in their corresponding keys, with each being responsible for a particular finger. They do not run around without direction but remain static to speed up typing. The finger tip takes control of its respective alphabets, reducing the distance traveled. The hands are assigned certain activities, the left and the right taking responsibility for the different sections. The posture remains consistent, minimizing errors. It becomes embedded through practice. One finger at a time assumes a unique responsibility. Each movement serves a unique purpose. It is not everybody at once who performs the activity. Each organ works independently but is a part of the bigger whole.
This technique is called touch typing. During typing, one does not need to look at the key pads because each finger knows its destination.
Strange at first, sure. Yet over time, it fits, simply through doing. Picture learning to ride a bike - Once learned, it stays with you forever.
2. The Home Row — Your Starting Point
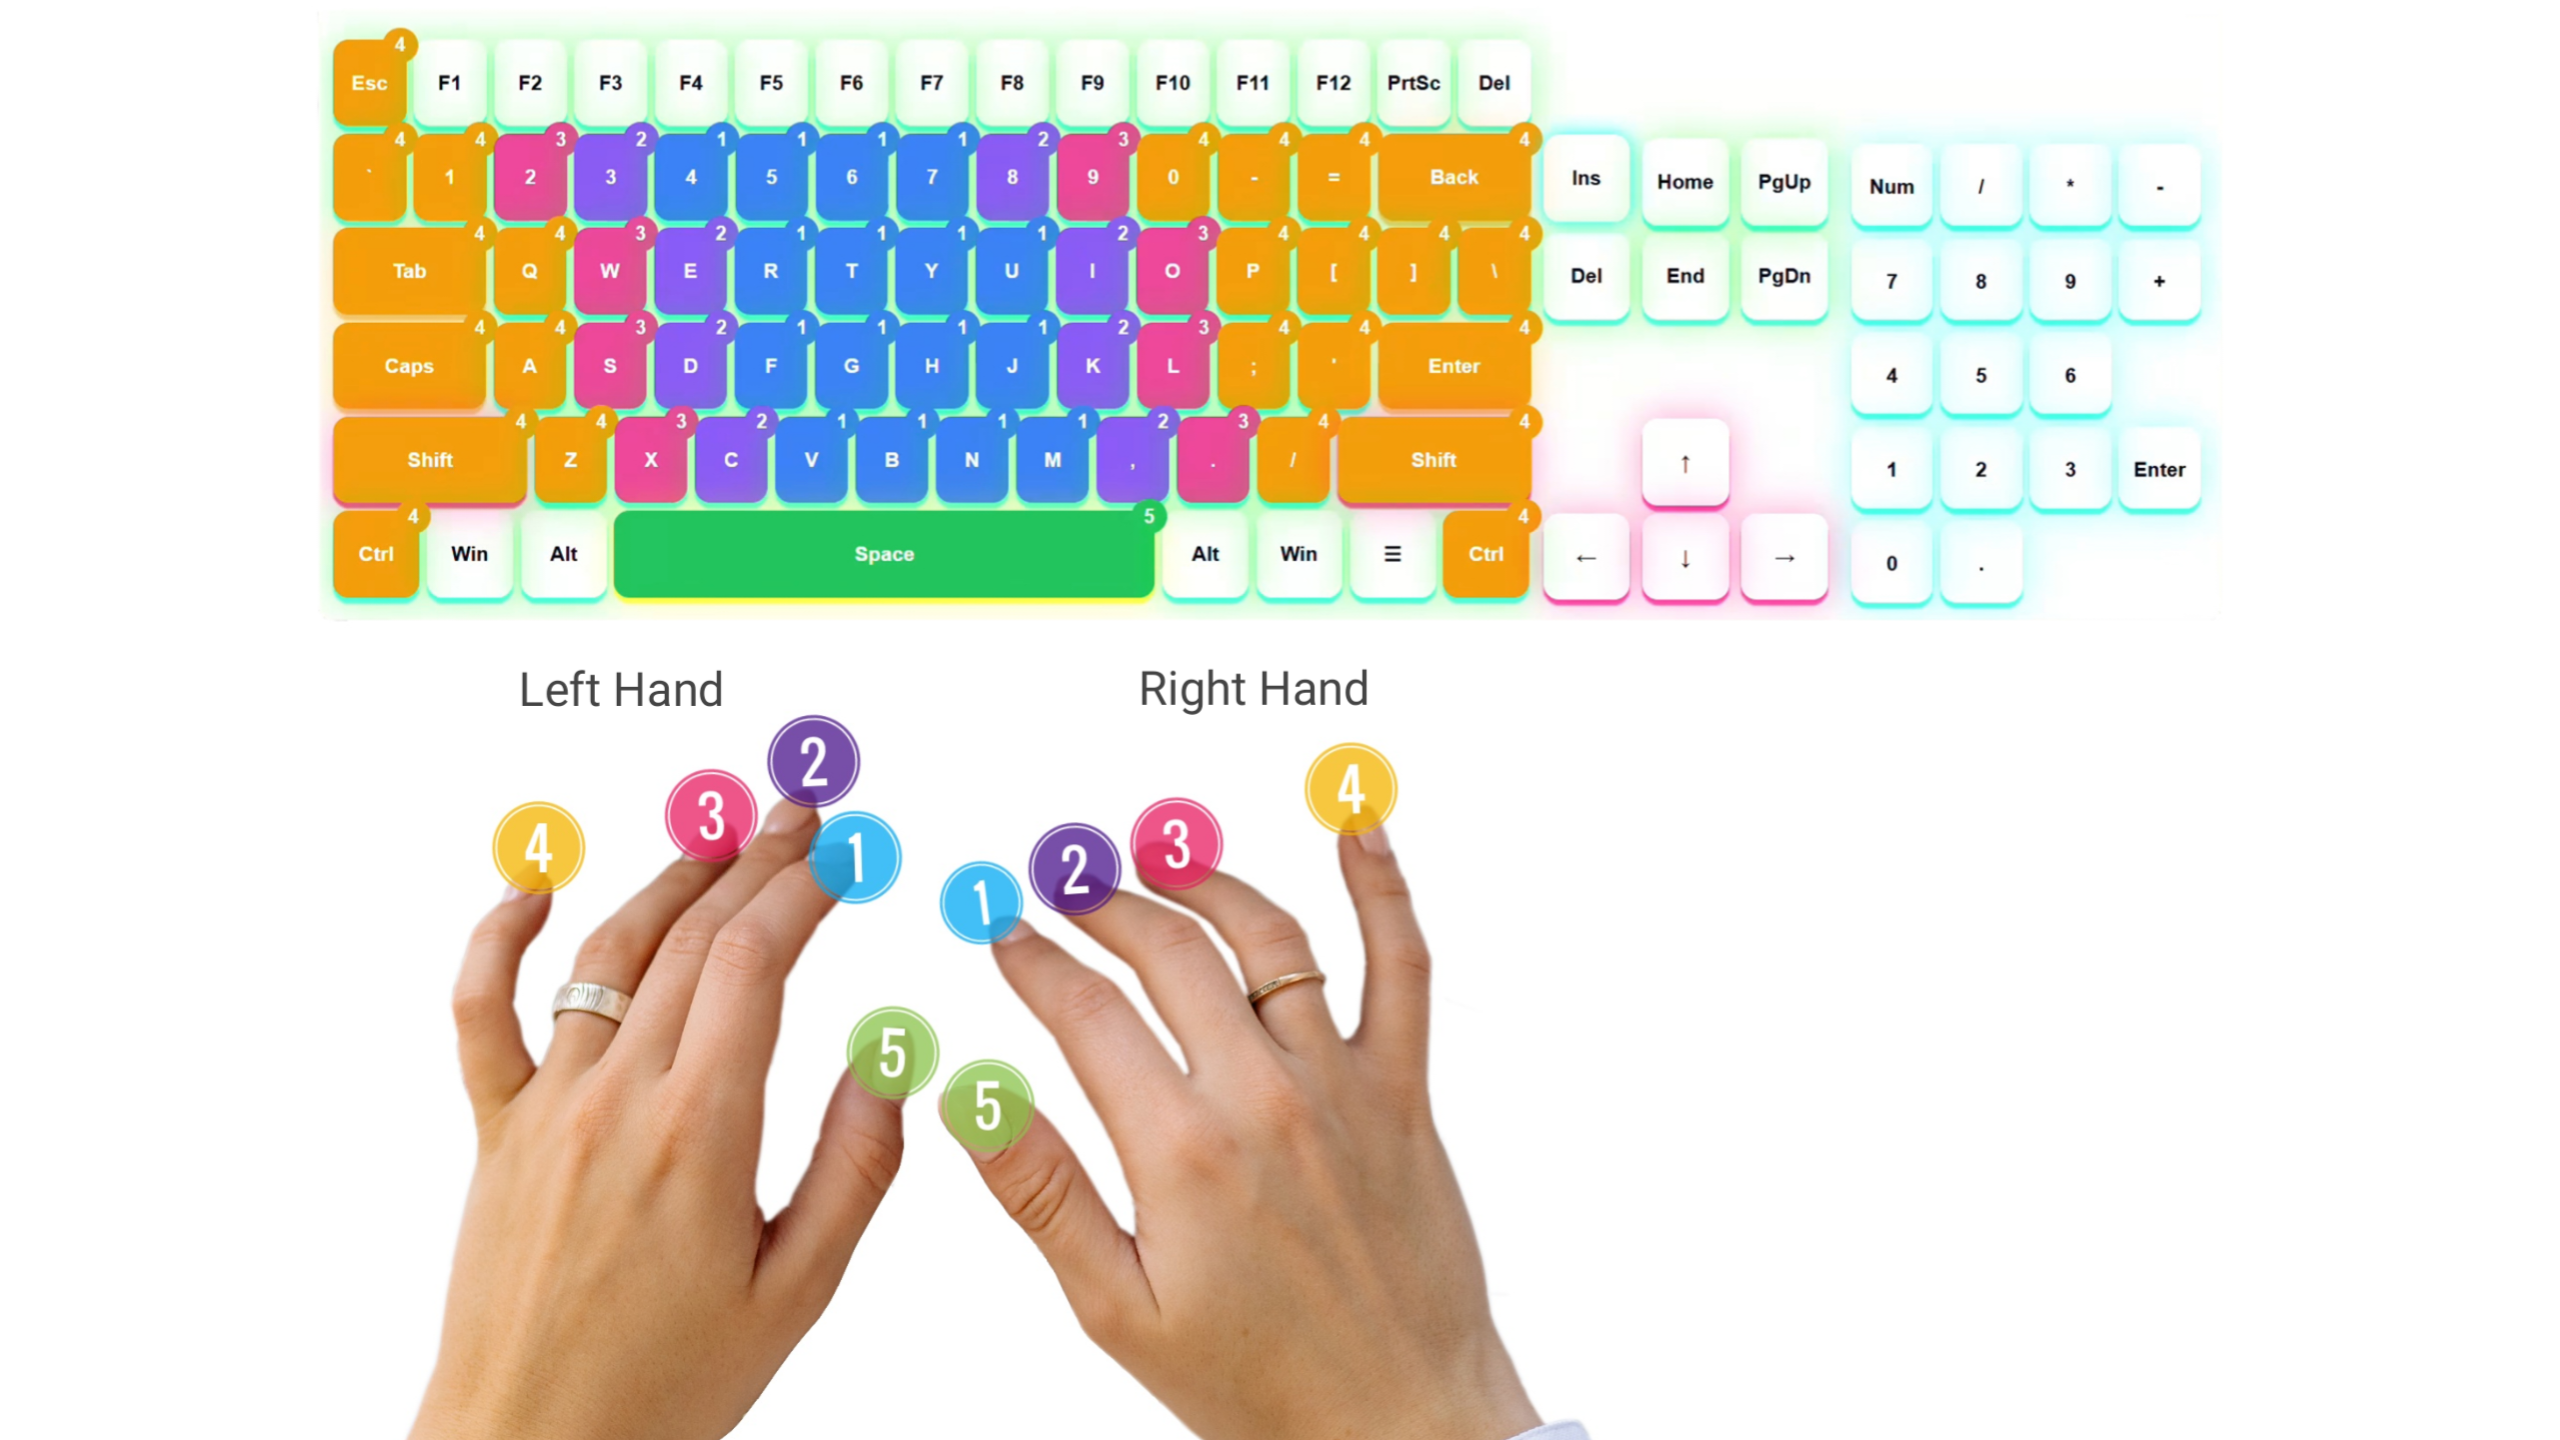
Home row keys hold the fingers at rest. This position anchors movement during typing without effort. From here, every fingertip moves back home after reaching out. Where things sit changes everything when swift steps between characters. Pausing at this spot shapes a smooth pulse after many tries silence hangs. fingertips lie flat.
Left hand: A, S, D, F
Right hand: J, K, L, ;
Your thumbs should rest on the spacebar.
Fingers rest here by default. When you hit another key, return happens naturally to these spots.
A tiny routine changes everything. When you do it, your hands stay steady because extra motion fades away. That means less shaking, more control. Doing this regularly cuts down on shaky actions without effort. Try it out and Jump into the typing course lessons right here.
3. Which Finger Presses Which Keys?
One finger handles certain keys. That setup speeds things up when typing.
- Left Pinky: Q, A, Z + Shift
- Left Ring: W, S, X
- Left Middle: E, D, C
- Left Index: R, T, F, G, V, B
- Right Index: Y, U, H, J, N, M
- Right Middle: I, K, ,
- Right Ring: O, L, .
- Right Pinky: P, ;, / + Enter + Backspace
One step at a time is enough right now. Begin at an easy pace instead of rushing - muscle memory comes later through steady tries naturally.
4. Why Proper Finger Placement Matters
Fingers land wherever feels right at first, so new typists often skip learning correct positioning. Though awkward later, that comfort sticks when starting out.
But here’s the reality:
- Wrong finger placement limits your speed
- It increases mistakes
- It makes typing tiring
- It slows down long-term progress
On the other hand, correct finger placement:
- Improves accuracy
- Increases speed naturally
- Builds muscle memory
- Makes typing effortless
This is exactly why skilled typists always stick to correct hand placement on keys. To boost your pace along with accuracy, True precision fits together like puzzle pieces - our method makes it happen without extra steps or guesswork typing speed improvement guide.
5. Common Mistakes Beginners Make
If you're having trouble with typing, chances are you're doing one (or more) of these without even realizing it:
- Using just 2–3 fingers most of the time
- Not bringing your fingers back to the home row
- Keep looking down at the keyboard
- Using the same finger again and again for different keys
Honestly, these habits can feel fine at first. But over time, they start holding you back.
Fix them early if you can. It makes a big difference later, even if it doesn’t feel like it right away.
6. How to Practice Finger Placement Properly
Practice slowly, pay attention - this builds better finger positioning. When you move carefully, your hands start to remember where they need to go. Focus shapes skill more than speed ever could.
Try beginning on just one note, then add another slowly. Work through patterns such as:
a s d f j k l ;
f d s a j k l ;
Focus on accuracy, not speed.
Our tools are ready whenever you need them. Click here for lessons on typing to practice step-by-step.
Start slow. Get familiar first. When ready, shift toward phrases instead of single sounds. Try longer bits once that clicks. Check how far you have come whenever it feels right by trying out our Test how fast you can type here instead.
7. Stop Looking at the Keyboard
This is one of the most important steps.
Staring down at the keys means your mind won’t learn where they live. Over time, that slows progress without you noticing. Your hands need confusion to adapt - only then do patterns stick. Without pause, repetition becomes noise instead of skill. Trusting sight too much blocks the feel from growing. Each glance resets the attempt, quietly undoing practice.
Staring at the display helps. Sure, errors happen early on.
After a while, something interesting happens — your fingers just start moving on their own. You don’t really think about each key anymore. It just… happens. Kind of like breathing — you’re not forcing it, it just flows.
This is usually the point where things actually start getting better.
8. Be Patient — It Feels Slow in the Beginning
In the beginning though, yeah, it can feel a bit weird. Your fingers don’t really listen properly when you try new key positions.
Honestly, this happens to almost everyone. It just shows up suddenly, even if you weren’t expecting it.
Changing the way you do things isn’t quick. You have to slowly let go of old habits, and that takes time. New habits don’t form instantly — they build little by little. No need to rush it. If you stay patient, things fall into place on their own.
I know it feels faster to go back to your old typing style… but try not to do that.
Just give it a few days seriously. You’ll notice things getting better on their own.
9. Combine Finger Placement with Daily Practice
And yeah, just knowing finger placement isn’t enough. You have to actually practice it, otherwise it won’t stick.
Even 15–20 minutes a day is enough.
You can use the typing test tool and there… just to see where you stand.
Progress might feel slow, but it’s happening. Little improvements do add up.
10. Build Muscle Memory
Typing isn’t only about thinking what to press. It’s more about your fingers getting used to it.
If you keep practicing, your fingers start moving without you forcing them too much.
Then one day, you realise you’re not thinking about each key anymore… it just happens.
That’s when typing starts feeling easy and faster too.
11. Make It a Habit
Honestly, the main thing here is just being consistent.
Even 5–10 minutes daily is fine. It doesn’t have to be perfect.
Just don’t fall back into old habits again and again, especially while typing casually.
The more you stick with the right way, the more normal it starts to feel… slowly.
Conclusion
Getting the finger placement right… it actually matters a lot for speed. You don’t really notice it in the beginning though.
At first it feels slow, even a bit annoying sometimes. That’s normal. It gets better later.
Just try to be a bit careful with accuracy, use the right fingers, and keep practicing whenever you can.
You can start with the typing speed test tool and yeah, there’s a blog page too if you feel like checking it..
After some time, your fingers just get used to it. Typing feels smoother… faster… and honestly, way less frustrating.